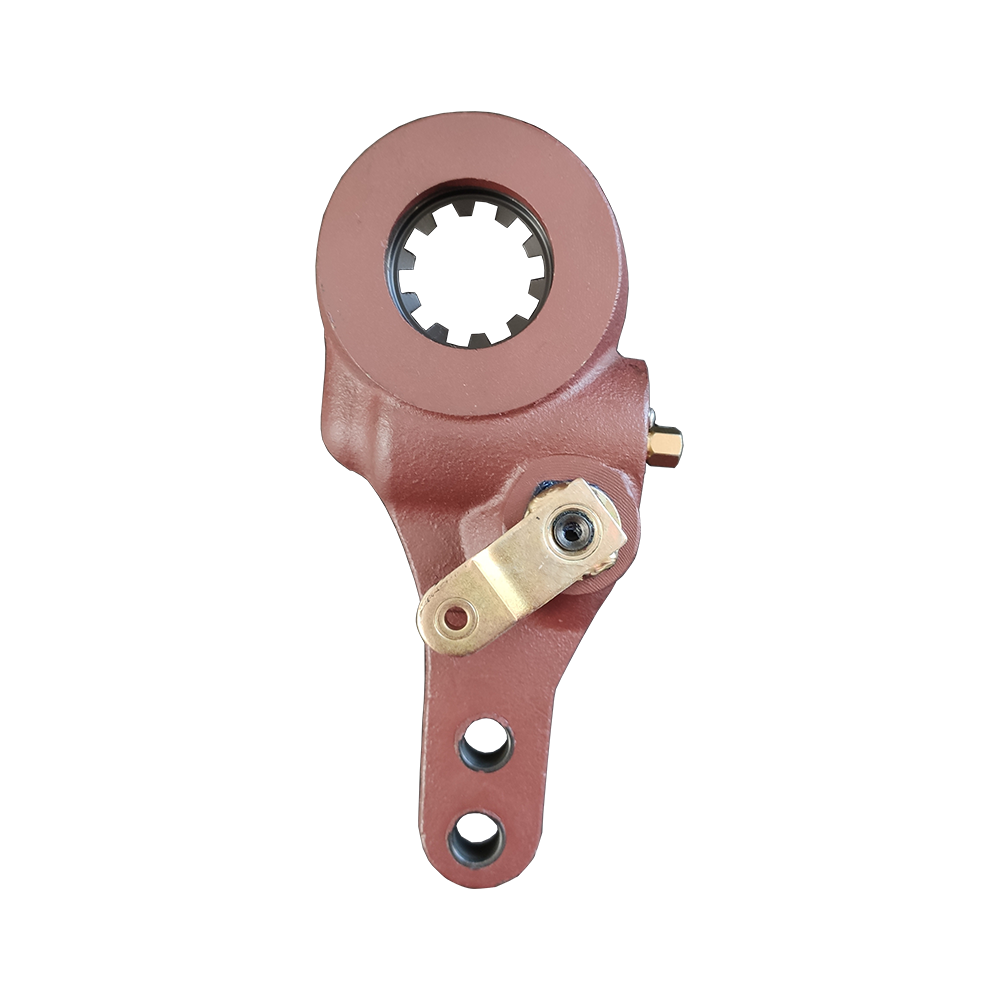
Adjusting an automatic slack adjuster is a critical maintenance task for ensuring the proper functioning of a commercial vehicle's braking system. Here is a general overview of the adjustment process and the tools required:
Tools Required:
1.Wrench or Socket Set: You will need a wrench or socket set to access and turn the adjustment nut on the automatic slack adjuster.
2.Measuring Device: A measuring device such as a ruler or a brake stroke gauge is essential to measure the brake chamber's pushrod stroke.
Adjustment Process:
1. Park the Vehicle:
Safety is paramount when adjusting automatic slack adjusters. Ensure the vehicle is parked on a level surface to prevent any unintended movement. Engage the parking brake and use wheel chocks to further secure the vehicle.
2. Release Air Pressure:
Before commencing any work on the braking system, release the air pressure in the brake system. This can be achieved by either draining the air tanks or using the brake release valve. This step prevents any unwanted brake engagement during adjustment.
3. Locate the Slack Adjuster:
Identify the automatic slack adjuster, which is typically positioned between the brake chamber and the brake drum. It's responsible for regulating the distance between the brake shoe and the drum, ensuring proper braking action.
4. Inspect for Proper Function:
Prior to adjustment, visually inspect the slack adjuster, pushrod, and related components for any signs of damage, wear, or loose connections. Address any issues discovered during this inspection to prevent potential brake system problems.
5. Measure Pushrod Stroke:
Using a measuring device like a ruler or a brake stroke gauge, accurately measure the pushrod stroke. The pushrod stroke specification may vary depending on the type of brake chamber and vehicle manufacturer, so refer to the vehicle's technical documentation for the correct measurement.
6. Access the Adjustment Nut:
Utilize the appropriate wrench or socket to access the adjustment nut on the automatic slack adjuster. This nut is typically located at the end of the slack adjuster nearest the brake chamber.
7. Adjustment Direction:
The direction in which you turn the adjustment nut will affect the pushrod stroke:
Turning the nut clockwise usually tightens or reduces the pushrod stroke length.
Turning the nut counterclockwise typically loosens or increases the pushrod stroke length.
8. Adjust Gradually:
When making adjustments, do so incrementally. Make small adjustments and then recheck the pushrod stroke. This step-by-step approach ensures precise adjustments.
9. Re-Measure and Test:
After each adjustment, re-measure the pushrod stroke to verify that it falls within the manufacturer's specified range. Correct pushrod stroke length is crucial for optimal brake performance and safety.
10. Reconnect Air Pressure:
Once the adjustment is successfully completed and confirmed, reintroduce air pressure to the brake system by either recharging the air tanks or releasing the parking brake.
11. Test the Brakes:
To validate the effectiveness of your adjustments, conduct a brake test. Ensure that the brakes engage and release smoothly and without any unusual noises or sensations. Verify that there is no brake dragging, as this can lead to excessive wear and reduced fuel efficiency.
12. Record Adjustments:
Maintain a detailed maintenance record that includes the date of adjustment, vehicle identification, specific adjustments made, and the name of the person responsible for the adjustment. Proper record-keeping is essential for regulatory compliance and future reference.
The PT-40-06 Russia Truck Spare Parts Automatic Brake Adjuster Level is an automatic brake adjuster for use on trucks manufactured by MAZ and PAZ in Russia.


.png?imageView2/2/format/jp2)

-1.png?imageView2/2/format/jp2)

.png?imageView2/2/format/jp2)

-1.png?imageView2/2/format/jp2)


-1.png?imageView2/2/format/jp2)

-1.png?imageView2/2/format/jp2)


 English
 русский
 Español
 Deutsch

